Last Updated on 08/26/2021 by Dean
This is a comprehensive guide to Clips on Twitch.
In this guide, we’ll cover everything you need to know about Clips as both a Twitch streamer and a viewer.
🎬 This article is part of our Start Streaming on Twitch series.
What are clips on Twitch?
Clips are small highlights that viewers take from a Twitch stream.
These clips can be taken while the live stream is happening, or afterward from the VOD.
Clips are often taken during funny or embarrassing moments, often with the intent of poking fun at the streamer.
How do you clip on Twitch?
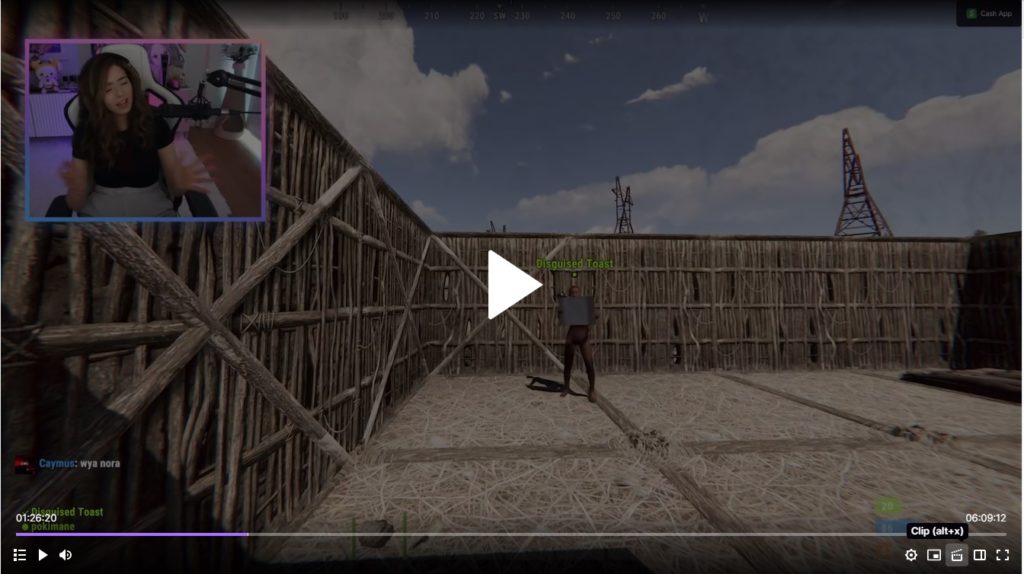
Taking a clip on Twitch is easy.
On both a live stream and a VOD you’ll find a ‘clip’ button on the lower right in the video player.
You can also press ‘ALT + X’ to clip on Twitch.
Next, you’ll be taken to the clip editor where you can adjust the timestamps for the clip.
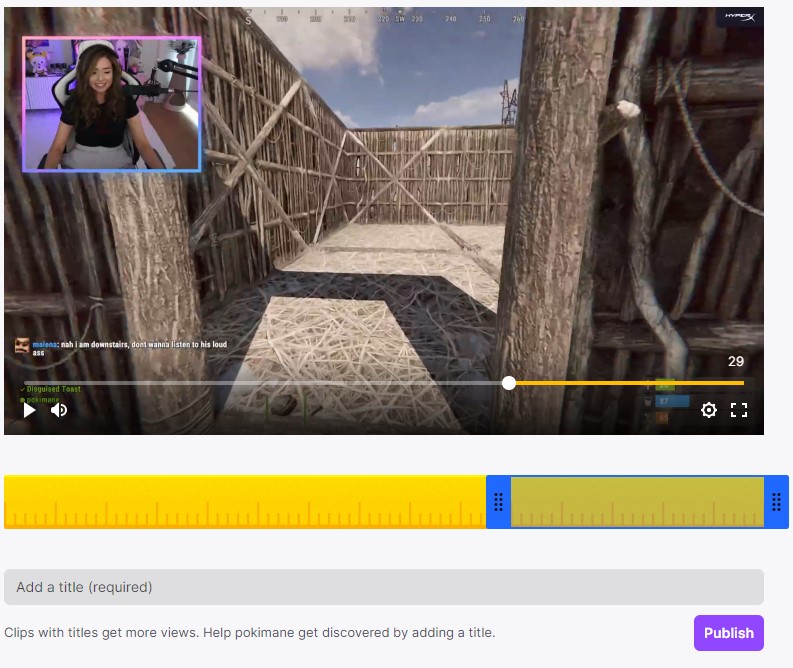
Next, add a title and hit publish to make your clip live!
Once live, the clip will be visible to everyone!
How do you delete a clip?
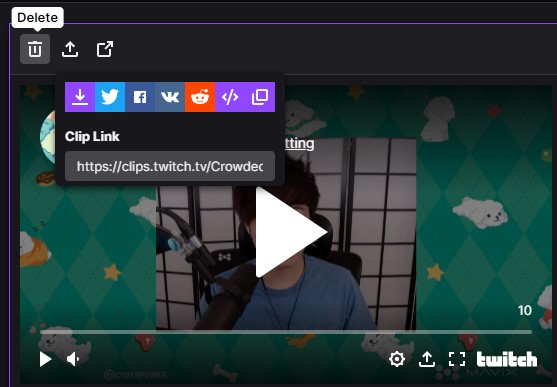
You can remove any clip you made from your Creator Dashboard on Twitch.
In the Creator Dashboard, go to the ‘Content’ section and find then choose ‘Clips’.
There, you’ll find all the clips you’ve made on Twitch.
Tap on any individual clip and hit the trashcan to delete the clip.
What are clips good for?
Clips help the streamer out a lot in terms of exposure.
Funny clips can go a long way, and not just on Twitch, some can even go viral on Twitter and subreddits.
Additionally, they are a great first impression to new viewers.
Think about it: when you navigate to any stream, you won’t necessarily be present for the funniest moments.
A clip, however, captures just those hilarious moments!
And that can be a GREAT first impression and can quickly lead to a new follower.
What is the difference between highlights and clips?
Highlights and clips are almost identical with just one key difference: clips are for viewers whereas highlights are for streamers.
As a viewer, you can clip certain timestamps from live streams and VODs.
As a streamer, you can highlight any timestamps from your VODs to publish them to your Twitch profile or download them for your YouTube highlights.
Basically, anyone can create a clip but only the streamer can create a highlight.
Other than that, they are the same thing.
What can you do with Twitch Clips?
- Post clips on Twitter, Reddit and other platforms
- Embed them on your blog
How to post Twitch clips to Twitter
There are two ways you can upload clips to Twitter.
The easiest way is to simply share the clip directly from Twitch.
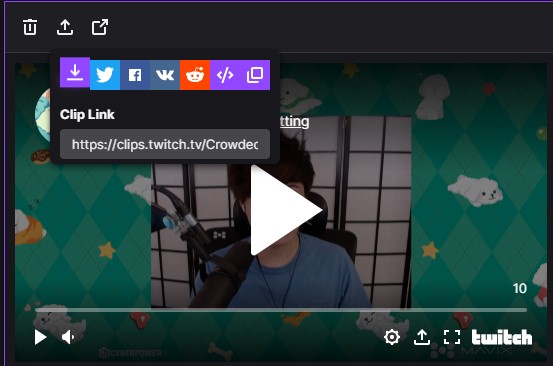
Go to the clip you want to share on Twitter.
Next, locate the share button underneath the video.
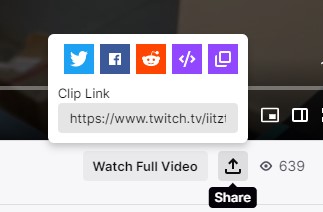
Select the Twitter icon.
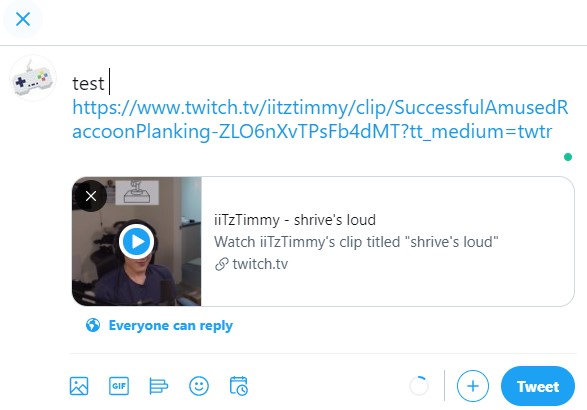
You’ll then be taken to Twitter with the clip embedded in your tweet.
Add whatever text you wish to tweet out and hit Tweet to publish.
Another way to tweet out a clip is to download the video and post it yourself.
To use this method, go to your Creator Dashboard and find ‘Clips’ under the ‘Content’ section.
There you’ll have a download button.
Once downloaded, drag the video file into a new Tweet.
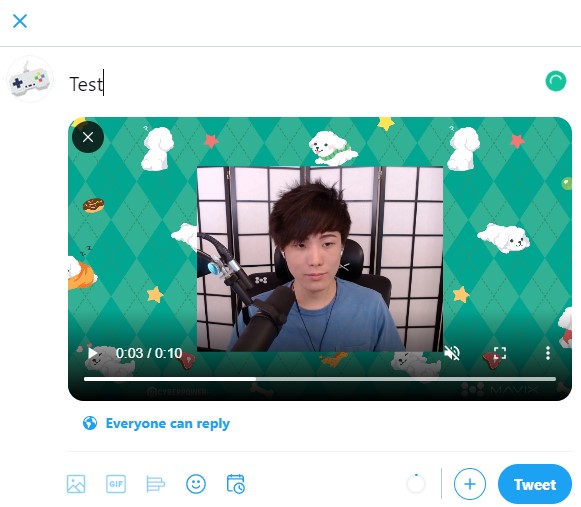
Add your text and hit Tweet to publish.
Using this method, your clips will be uploaded natively to Twitter without using Twitch.
You can use this exact method to upload clips to Reddit and other social media as well.
How to embed clips to a blog
You can also embed Twitch clips and highlights to your blog really easily!
As you may have seen at the start of this article, I embedded a Twitch clip as well.
Here’s how you can do that.
Go to the Twitch clip you wish to embed.
Click on the purple icon </> icon.
You’ll then be prompted by an Embed window. Copy the code.
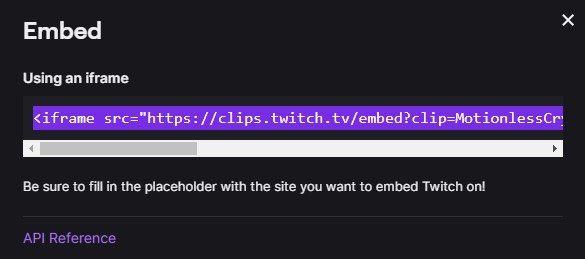
You’ll now need to paste this code into your blog post using custom HTML.
<iframe src="https://clips.twitch.tv/embed?clip=MotionlessCrypticDragonLeeroyJenkins&parent=www.example.com" frameborder="0" allowfullscreen="true" scrolling="no" height="378" width="620"></iframe>
But before you do so, you need to change the URL inside the code from “www.example.com” to fit your domain.
If you don’t do this, you’ll get a ‘Twitch.tv refused to connect’ message.
Below is an example of how I changed it (look for the bolded text).
<iframe src="https://clips.twitch.tv/embed?clip=MotionlessCrypticDragonLeeroyJenkins&parent=streamerfacts.com" frameborder="0" allowfullscreen="true" scrolling="no" height="378" width="620"></iframe>
Now simply copy/paste that code into your blog post as HTML to embed the clip!
This works for WordPress, Blogger, Blogspot, Squarespace, you name it!